How to Obtain Your Visa at Home? Applying for a visa can seem like a complicated process, filled with paperwork, appointments, and strict requirements. However, many parts of the application can be completed from the comfort of your own home. This guide will walk you through the steps, from understanding visa types to submitting your application online. We aim to demystify the process, making it more accessible for first-time applicants.
Understanding the Importance of a Visa

A visa is an official document that allows a foreign national to legally enter, travel within, or stay in another country for a specified period. Without the correct visa, you could be denied entry or face legal issues. Each country has its own rules and visa categories based on the purpose of your travel, such as tourism, work, study, or immigration.
Purpose of This Guide
This guide is designed for beginners who want to navigate the visa application process. We will show you how much of the process you can handle yourself, including preparing your documents and taking your own visa photo at home. Our goal is to provide clear, actionable steps to help you confidently prepare your application.
Types of Visas
Before you begin, you need to identify the correct visa for your trip. Visas are generally categorized by the reason for travel. Common types include tourist visas for vacations, student visas for academic purposes, work visas for employment, and immigrant visas for those moving permanently.
U.S. Visas Overview
The United States offers a wide range of visa categories. These are broadly divided into two main types: nonimmigrant visas and immigrant visas.
- Nonimmigrant Visas: For temporary stays, such as tourism (B-2), business (B-1), study (F-1), or temporary work (H-1B).
- Immigrant Visas: For individuals who intend to live and work permanently in the United States.
You can find the specific visa you need by visiting the official U.S. Department of State website.
Visa Categories for Different Purposes
Selecting the right category is the most important first step. If you are planning a vacation, you will apply for a tourist visa. If you have been accepted into a U.S. university, a student visa is required. If a company is sponsoring you for a job, you will need a work visa. Each category has unique requirements, so make sure you choose the correct one before starting.
Preparing for Your Visa Application
Proper preparation is key to a successful visa application. Gathering all your documents in advance will save you time and prevent stressful last-minute scrambling. Most of this preparation for obtaining your visa at home can be done online.
Required Documents
While specific documents vary by visa type, most applications require the following:
- A completed application form (e.g., Form DS-160 for most U.S. nonimmigrant visas).
- A valid passport.
- Application fee payment receipt.
- A compliant visa photograph.
- Supporting documents, which could include proof of financial stability, a letter of invitation, flight itineraries, or evidence of ties to your home country.
Passport Requirements
Your passport must be valid for at least six months beyond your intended period of stay in the United States. It should also have at least one blank page for the visa stamp. Check your passport’s expiration date before you begin the application process.
Necessary Forms
Most U.S. visa applications require you to complete an online form. The most common is the DS-160, Online Nonimmigrant Visa Application. This form collects your biographical information and details about your planned trip. Fill it out carefully and honestly, as any inaccuracies can lead to delays or denial.
How to Take a Visa Photo at Home
You can save time and money by taking your own visa photo at home. Government requirements for these photos are very strict, so follow the guidelines precisely to ensure your picture is accepted.
Equipment Needed
- A smartphone or digital camera with good resolution.
- A plain white or off-white wall or background.
- Good, even lighting (natural daylight from a window is best).
- A tripod or a friend to help you take the picture.
Step-by-Step Instructions
Here’s how to take a visa photo at home that meets official standards:
- Set Up Your Background: Find a spot in front of a plain, light-colored wall. Make sure there are no shadows, patterns, or objects in the background.
- Arrange Your Lighting: Face a source of natural light, like a window, to ensure your face is evenly lit. Avoid harsh overhead lighting that can create shadows. Do not use flash.
- Position Yourself Correctly: Stand or sit so that the camera is at eye level. Your head should be centered in the frame, with your full face visible.
- Maintain a Neutral Expression: Look directly at the camera with a neutral facial expression and both eyes open. A small, natural smile is sometimes allowed, but a neutral look is safest.
- Follow Dress and Appearance Rules: Wear normal daily attire. Do not wear a uniform. Glasses are not allowed in U.S. visa photos unless you have a medical reason, in which case you will need a signed doctor’s note. Do not wear a hat or head covering unless for religious or medical reasons, and even then, your full face must be visible.
- Take and Check the Photo: Take several pictures to have options. The photo must be in color, recent (taken within the last 6 months), and high-resolution. It should not be digitally altered. You can use the Department of State’s free photo tool to crop and resize your image to the correct dimensions (2 x 2 inches or 600 x 600 pixels).
Completing the Application Process
After you have gathered your documents and prepared your photo, you can move on to submitting your application and scheduling any necessary appointments.
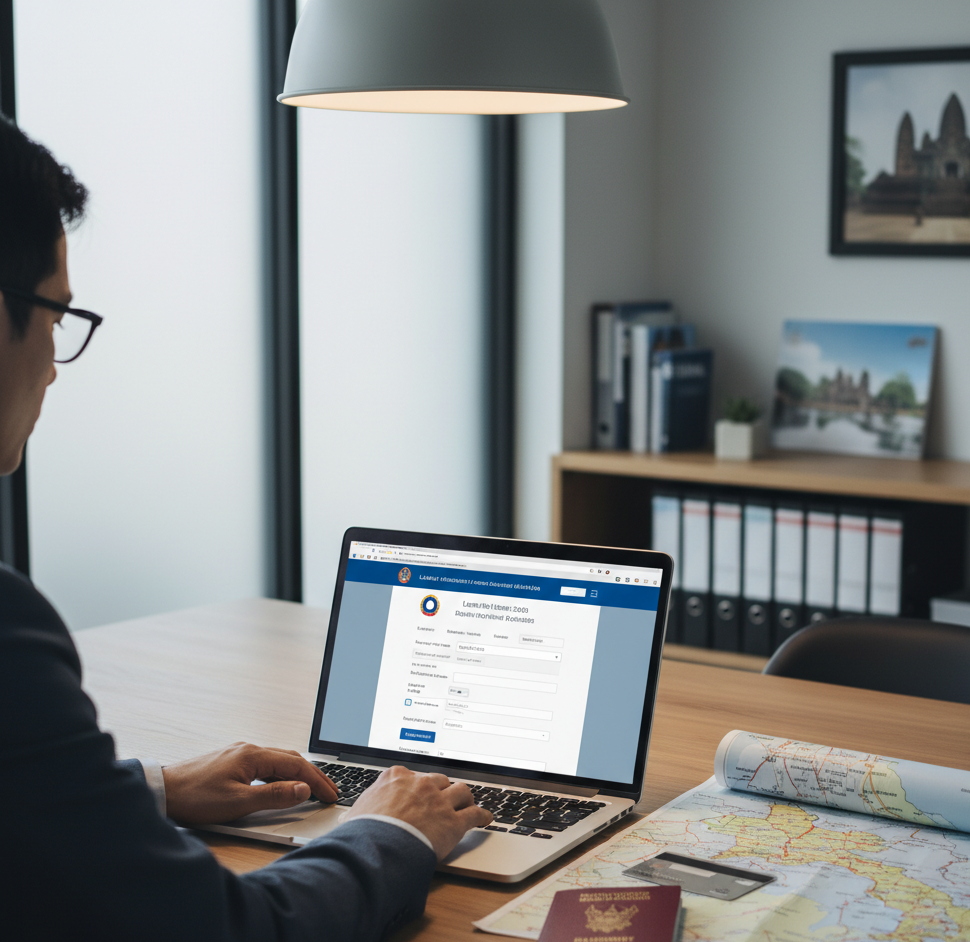
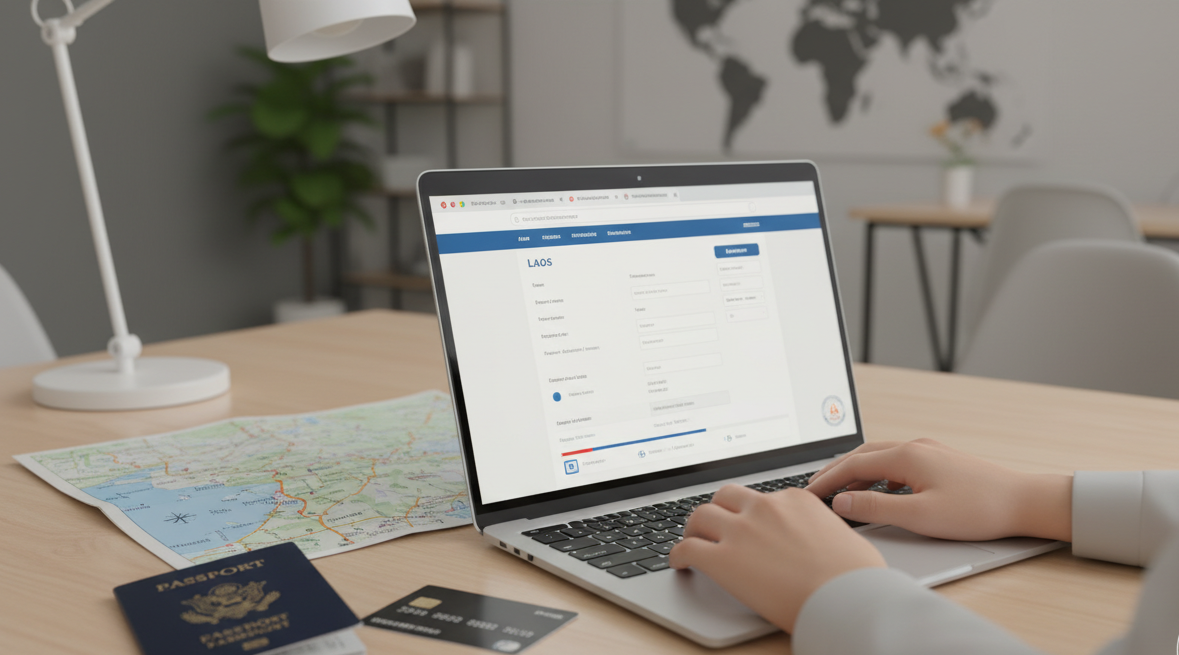
Online Application Submission
The bulk of the visa application process is completed online. You will upload your digital photo, submit your DS-160 form, and pay the application fee through the official government portal. After submitting the form, print the confirmation page with the barcode, as you will need it for your interview.
Visa Appointment Booking Online
Once your form is submitted and the fee is paid, you will be able to schedule your appointments. This typically includes two separate appointments: one for biometrics (fingerprints and photo) at a Visa Application Center (VAC) and another for the visa interview at a U.S. Embassy or Consulate. You can complete your visa appointment booking online through the official visa service website for your country.
Final Tips and Additional Resources
Navigating the process of getting a visa at home is manageable with the right information. Here are some final tips to help you succeed.
Common Mistakes to Avoid
- Incorrect Information: Double-check all information on your application form for accuracy.
- Non-Compliant Photo: A rejected photo is a common cause of delays. Use the official photo tool to verify your image meets all requirements.
- Missing Documents: Create a checklist to ensure you have all the required and supporting documents for your interview.
- Waiting Too Long: Start the visa application process well in advance of your planned travel dates.
Useful Websites and Contacts
Always use official government sources for information. For U.S. visas, these are your most reliable resources:
- U.S. Department of State – Bureau of Consular Affairs: The primary source for all visa information.
- Official U.S. Embassy or Consulate Website: Find country-specific instructions and appointment booking information.
- DS-160 Online Application Form: The starting point for most non-immigrant visa applications.
By following this guide, you can confidently manage many aspects of your visa application from home, making the journey to your destination a little bit smoother.